(→Drops) |
No edit summary |
||
| Line 30: | Line 30: | ||
For a summary of drops see: [[Dungeon Drops#Altar of Siena (B1F)|Altar of Siena (B1F) Drops]]<br> |
For a summary of drops see: [[Dungeon Drops#Altar of Siena (B1F)|Altar of Siena (B1F) Drops]]<br> |
||
A comprehensive drop table from EST is found at: [[Altar of Siena (B1F) Drop Table]] |
A comprehensive drop table from EST is found at: [[Altar of Siena (B1F) Drop Table]] |
||
| − | |||
| ⚫ | |||
| ⚫ | |||
| − | |||
| − | ==NPCs== |
||
| − | 1 NPCs in the dungeon. |
||
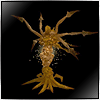
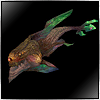
==Monsters== |
==Monsters== |
||
| Line 51: | Line 45: | ||
| |
| |
||
|} |
|} |
||
| + | |||
| − | ===Boss=== |
||
| + | ==Bosses== |
||
{{Mob Gallery |
{{Mob Gallery |
||
|width=120 |
|width=120 |
||
| Line 72: | Line 67: | ||
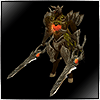
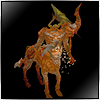
*[[Centrion Prideus]] |
*[[Centrion Prideus]] |
||
}}<br clear=left> |
}}<br clear=left> |
||
| + | |||
| ⚫ | |||
| ⚫ | |||
== Step by Step Walkthrough == |
== Step by Step Walkthrough == |
||
Revision as of 10:59, 27 July 2021
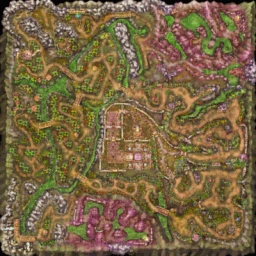
| Altar of Siena (B1F) | |||||
|---|---|---|---|---|---|
| |||||
| Details | |||||
| Entry Item: |  Siena's Crest B1F | ||||
| Character Level: |
135 ~ 180 | ||||
| Duration: | 45 min | ||||
| Reward for completion: |
20,000 Honor 6 Dungeon points | ||||
| Penalty for failure: |
None specified | ||||
| Mob respawn time: | |||||
| Number of Participants: | None specified | ||||
| Daily Reward: | None specified | ||||
Introduction
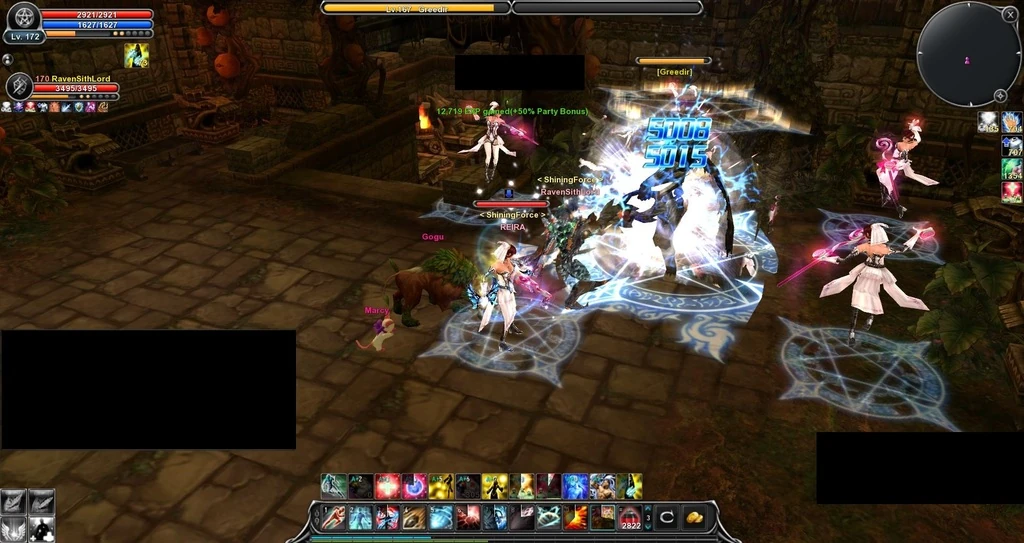
Also known as "AOS1" this dungeon is difficult for players <150 however the drops can make it worth running. It is a relatively short dungeon and a party of 2-4 people is recommended depending on how strong the party members are.
Drops
Some of the better items that can drop in this dungeon include:
- +7, Epaulets
- Perfect crafted Redosmium grade weapons and armor
- +6 Bracelets & Earrings
- Slot Extender (High) & Slot Extender (Highest)
- Essence Rune (Attack)
- Essence Rune (Magic Skill Amp)
- Essence Rune (Sword Skill Amp)
For a summary of drops see: Altar of Siena (B1F) Drops
A comprehensive drop table from EST is found at: Altar of Siena (B1F) Drop Table
Monsters
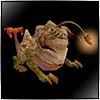
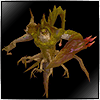
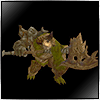
Bosses
|
Video Walkthrough
Step by Step Walkthrough
Source: [1]
Click [Show] to expand the walkthrough below.
| Image | Description |
|---|---|
 |
When you enter click on the Nasty Diriubra (the NPC beside the Bridge) and get your first Gem.
Go on and fight the first boss Glutto. Note: He will always try to warp the player which has the agro, when the warping message appears dash fast back on the bridge otherwise you will be warped in the secret room. |
 |
After you defeated the first boss go on and you will see another little NPC talk with him. |
 |
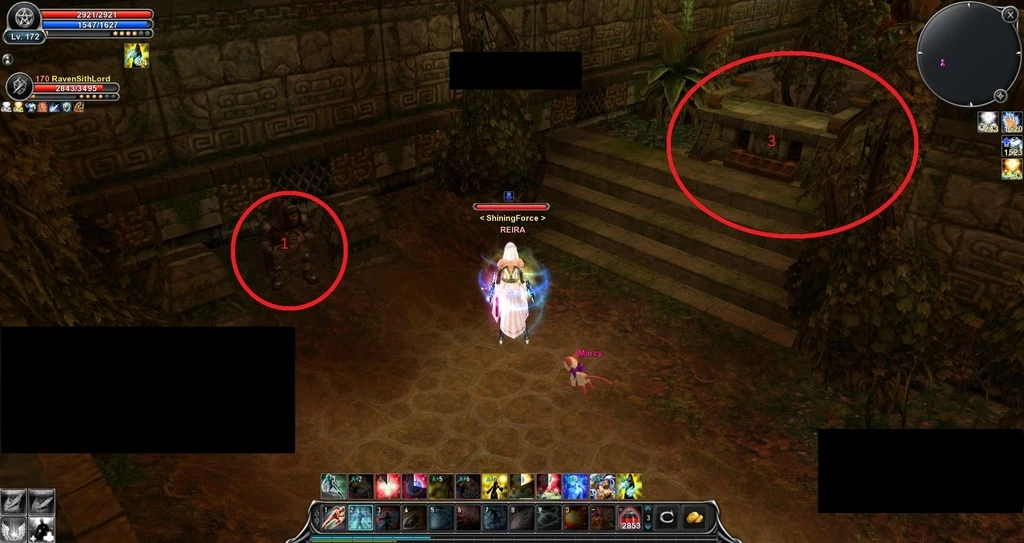
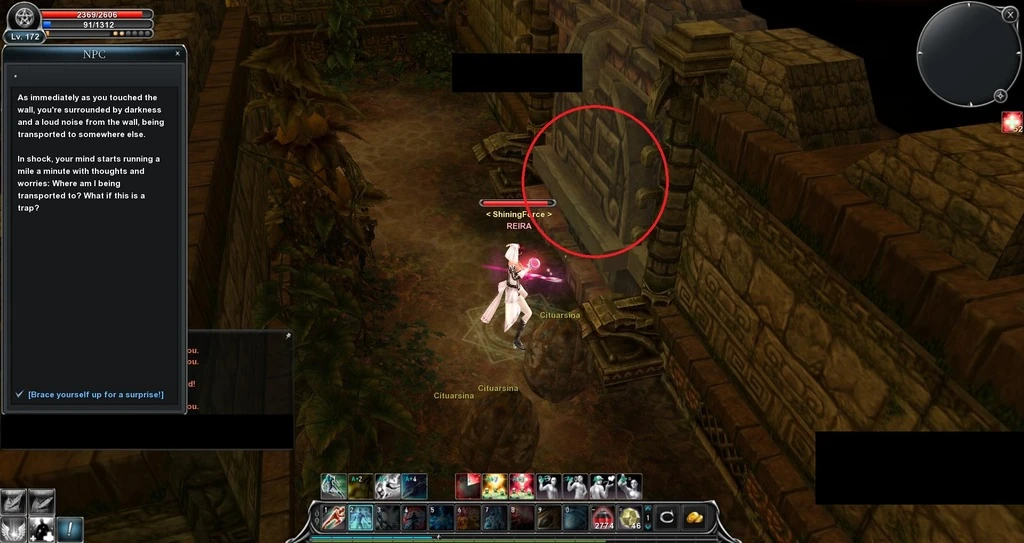
After that you go a bit backwards and you will see a wall just opened and you can talk to the chest, go back where the little NPC is standing and talk to the altar on the right side and after that again to the NPC to get the second Gem. |
 |
Another wall will open to make your way free to fight Zealru, he will warp every few mins but he will be easy to take down. |
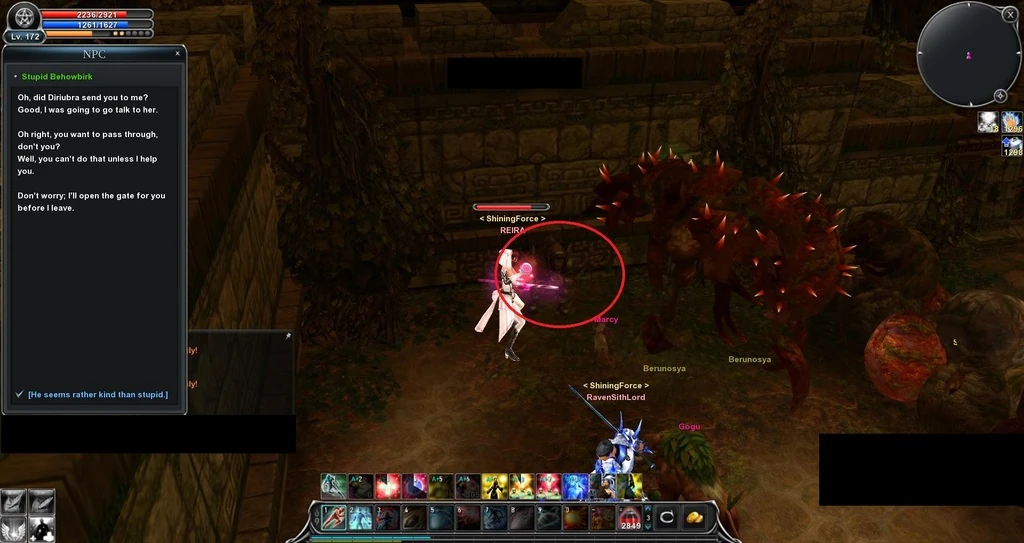 |
Continue on, you will encounter another little NPC (Stupid Behowbirk). Talk to him to get another Gem and the wall disappear to fight the next boss. |
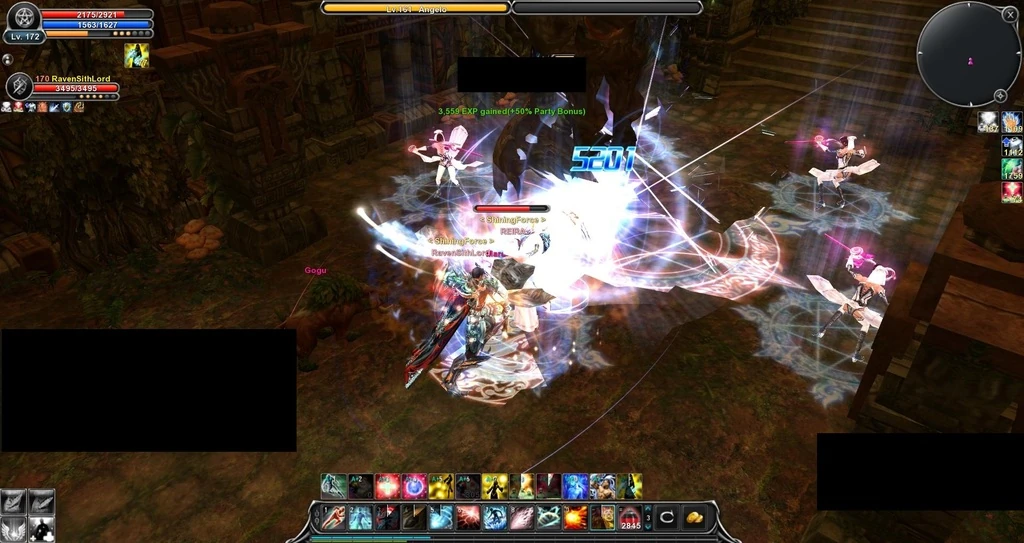 |
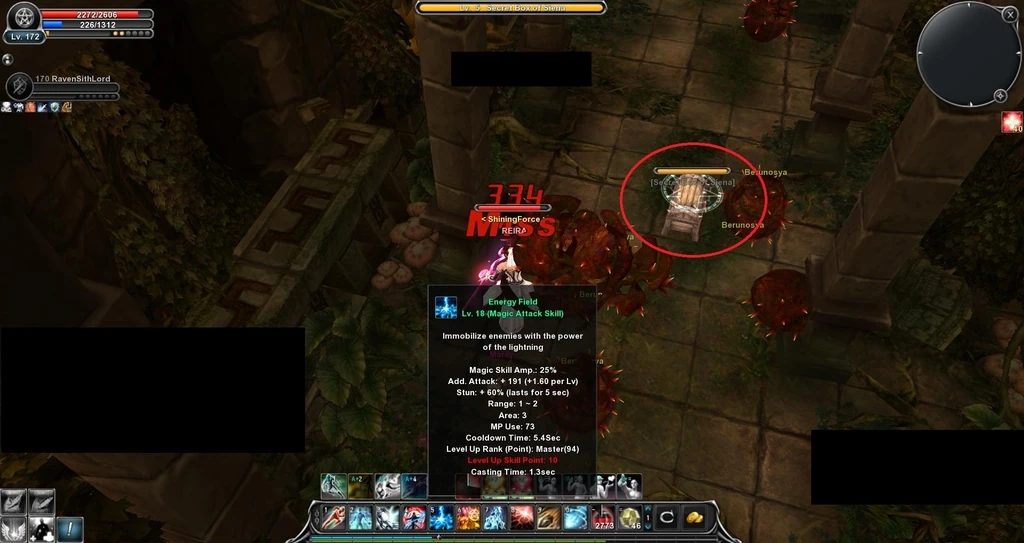
Defeat Angelo, don't waste too much time since he can go AoD like mostly all Bosses in this dungeon.
TIP: Stand close together otherwise it could happen that he "one-hit-spikes" one of your party members. |
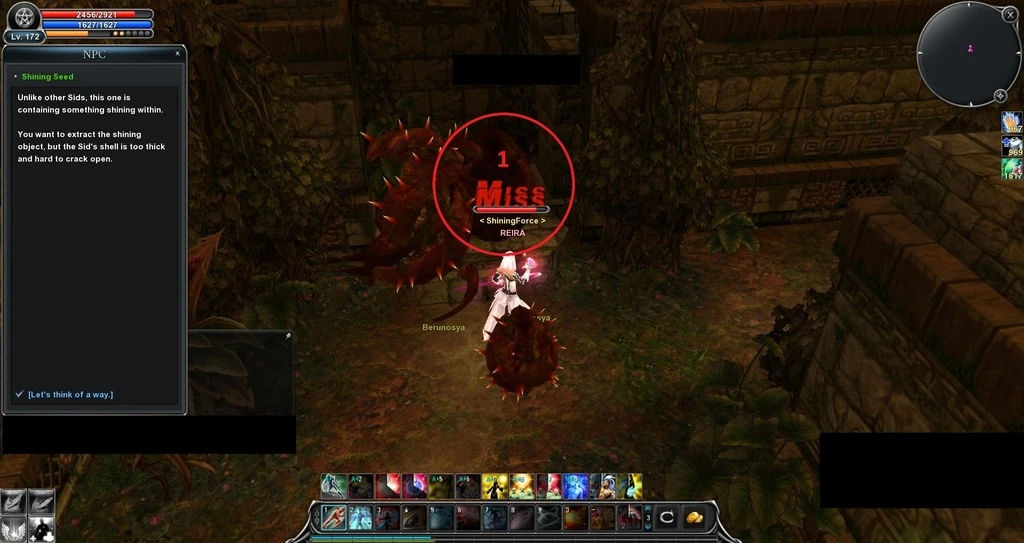 |
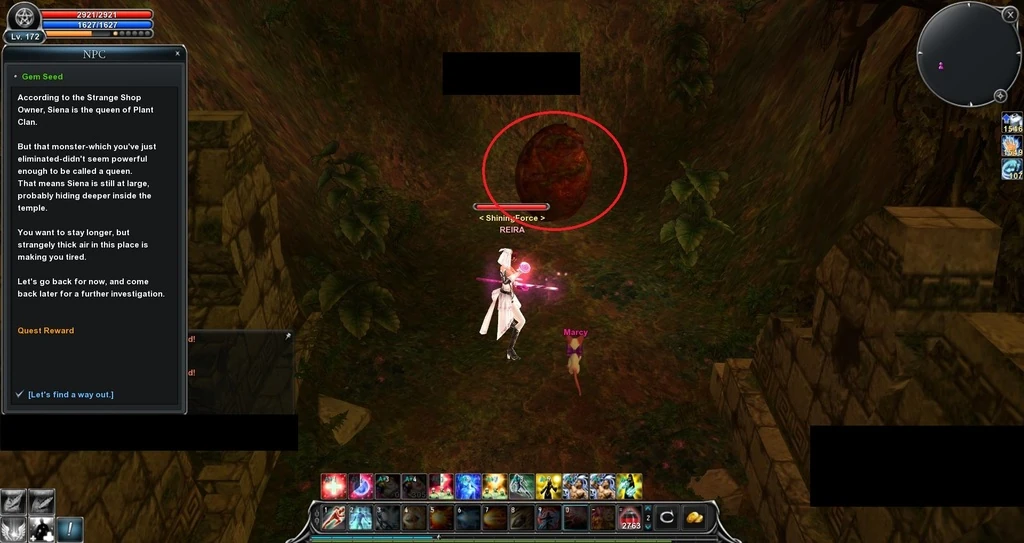
Go on and you will see a Seed (Shining Seed) in the next tunnel click on it. |
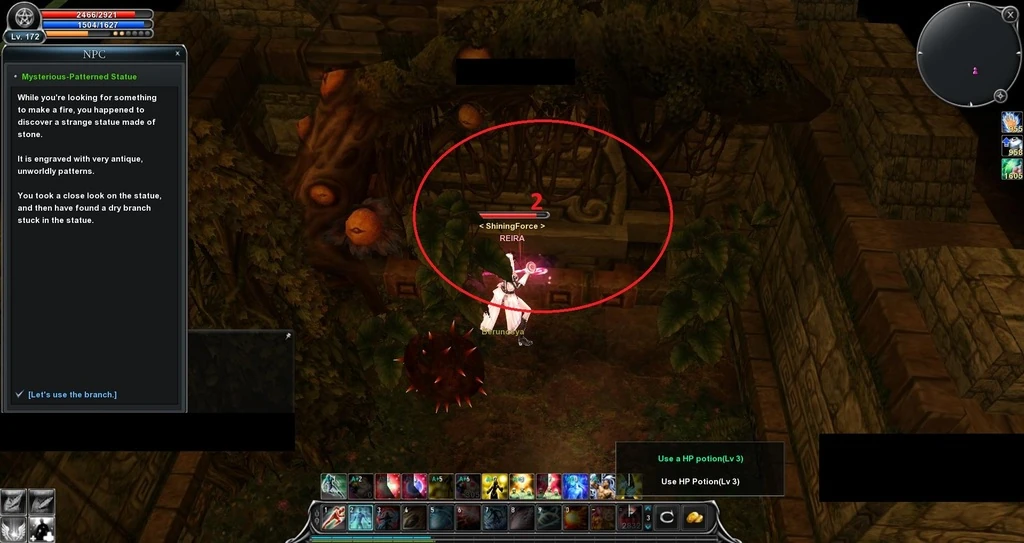 |
Continue forward but don't turn to the left go straight ahead and to right. Talk to the wall and after it take the left way. |
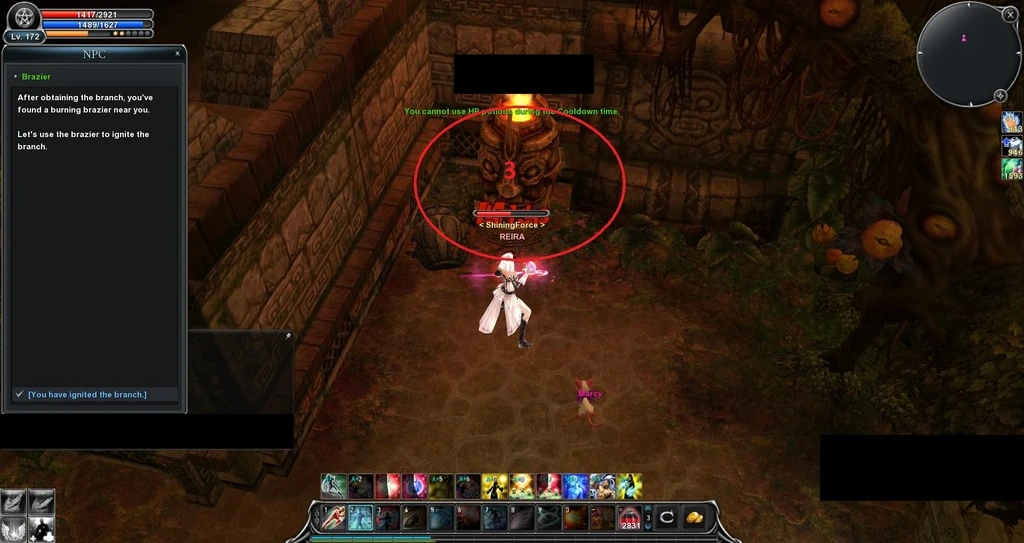 |
Talk to the Brazier and return back to the Seed (1). |
 |
Now you finally collected all Gems just talk to all 4 stone heads and the wall will dissappear. |
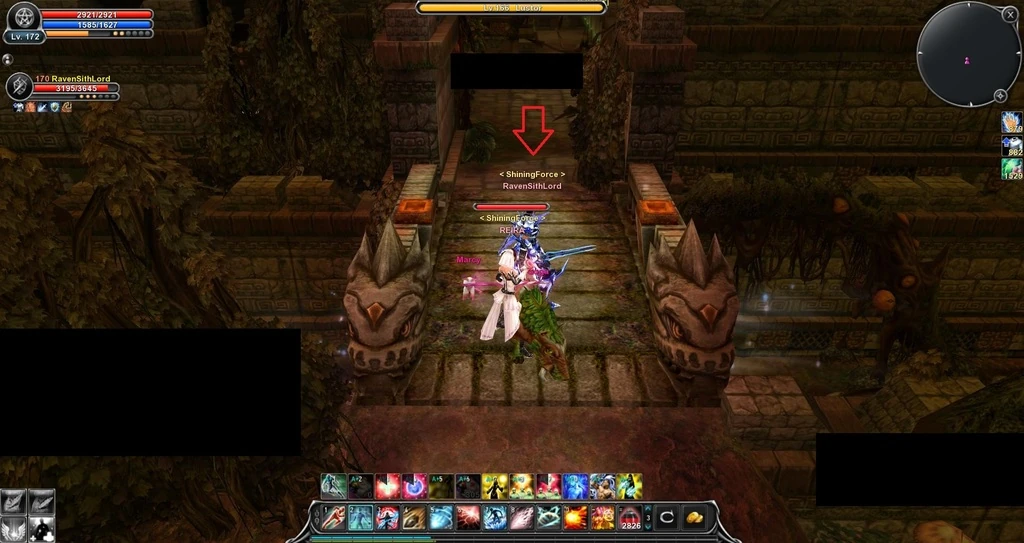 |
As soon as the wall disappears dash across the room to the little bridge behind Lustor. Go Bm and kill him (Shouldn't take more than one Bm2+extend)
TIP: Never fight both bosses together, you won't be able to tank them. |
 |
If Lustor is down wait your Bm to cool down and straight go for the second boss (same as for the first) |
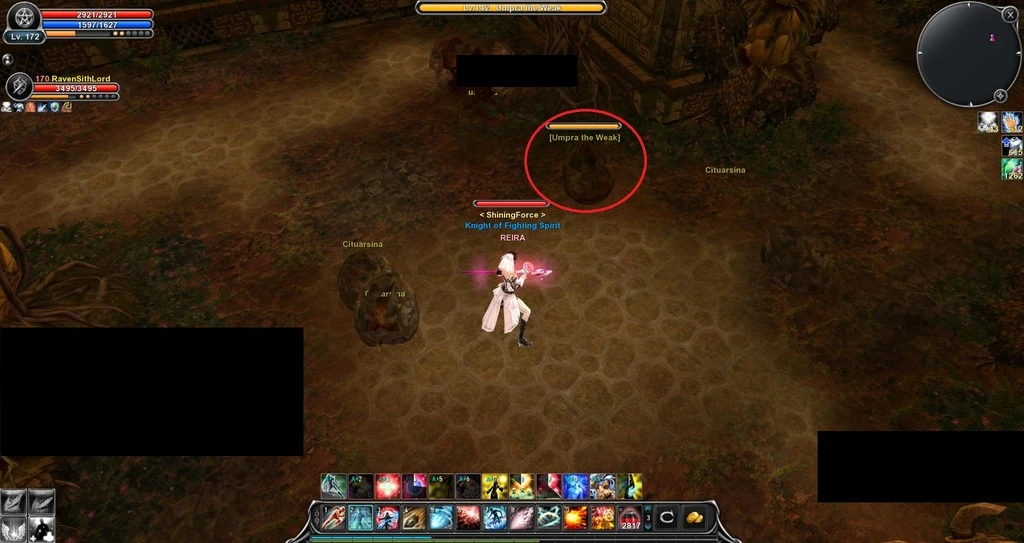 |
When both are defeated continue through the warp you will encounter "Umprea the weak" you have to kill it otherwise you won't be able to get the Secret Chest. |
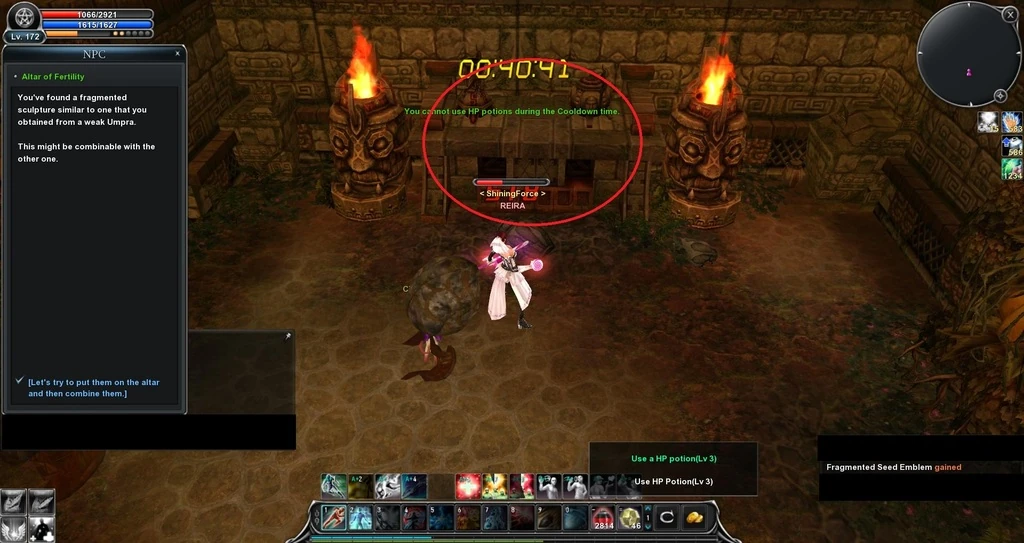 |
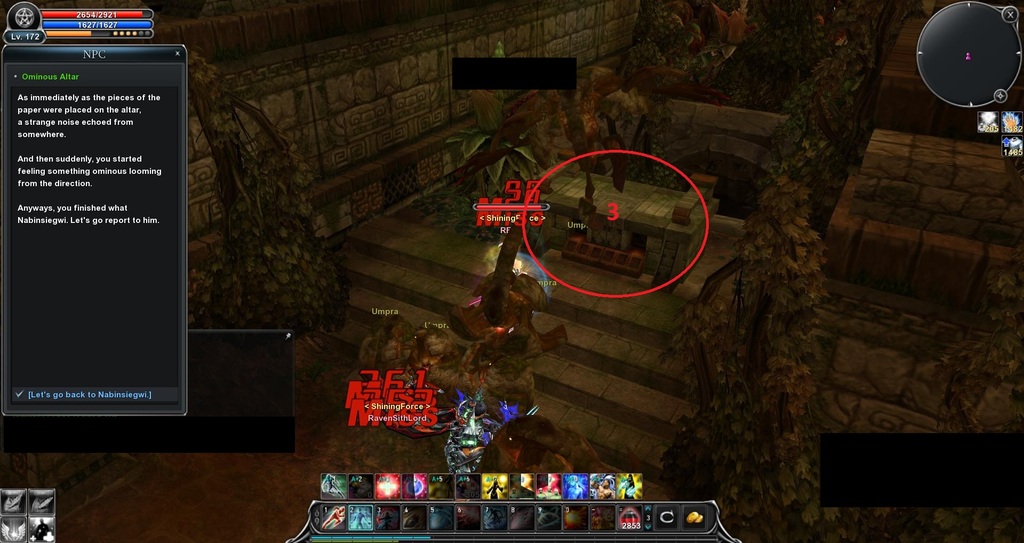
After you killed click on the Altar to receive 5k honour. |
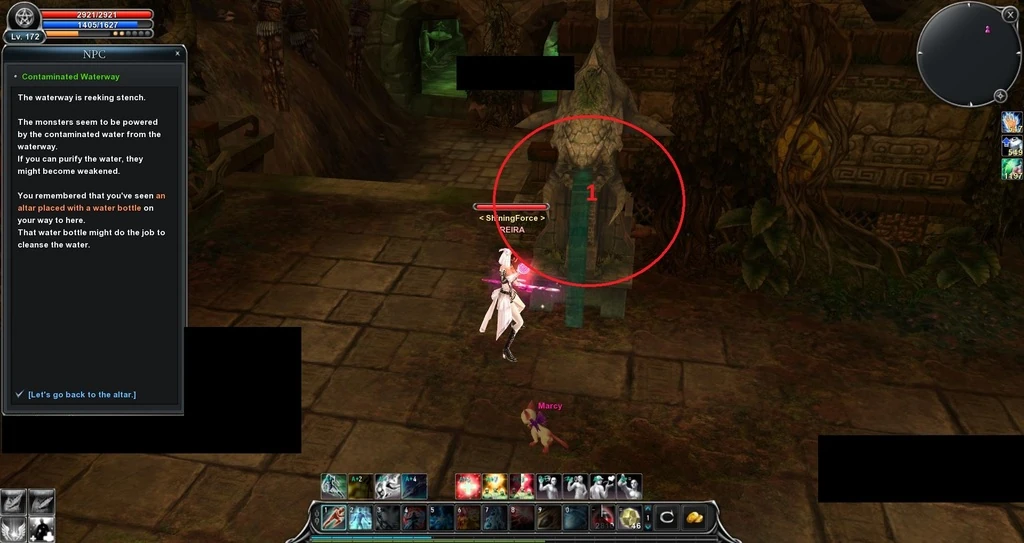 |
Go on till you are in the room with the "Contaminated Waterway" (The Snake Head), click on it once. |
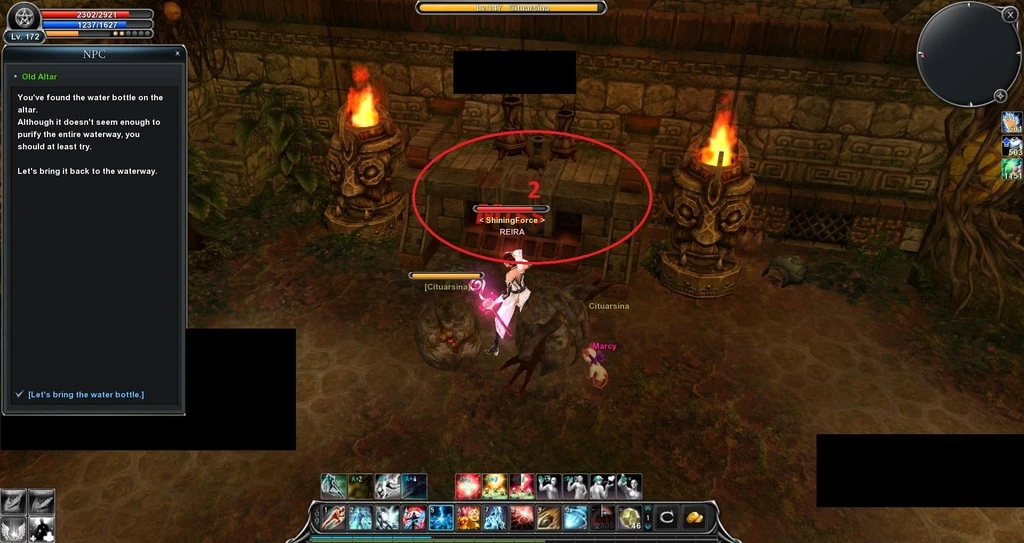 |
Now you have to go back until the warp which you just used before to click on the old Altar.
TIP: You can let a party mate wait there to click on it. |
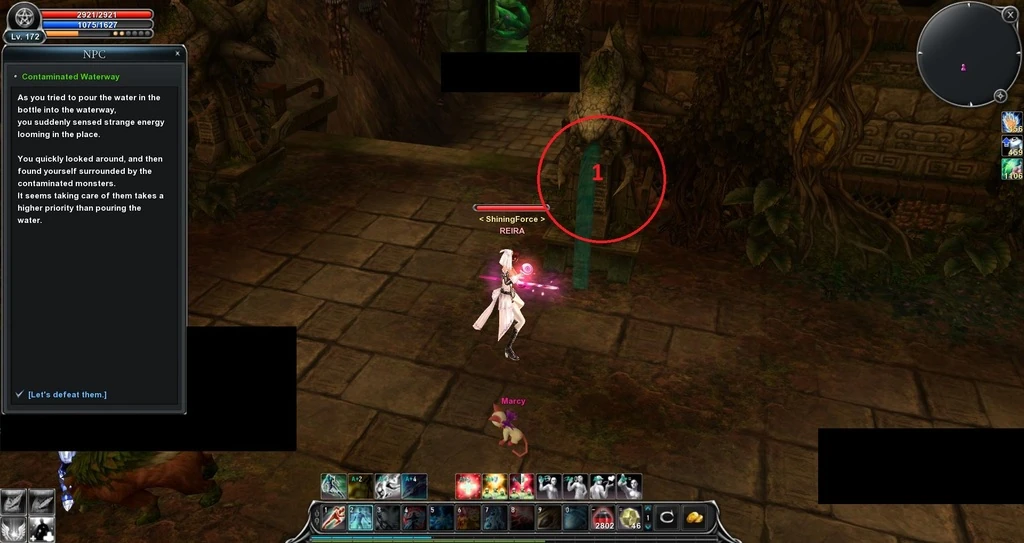 |
Click again on the snakes head and a bunch of Monsters will spawn, defeat them all and after it click again on the head. |
 |
Go down to hit Lazine once and go back upstairs (you can dance for a bit if you want to), go Bm2+all short buffs when the message "Lazine decreases its Defense" appears and defeat it.
It could happen if you deal too less dmg that Lazine stuns one of your party mates and goes AoD for a short time period, if that's the case just dash back out and wait till the message appears again and combo the rest. |
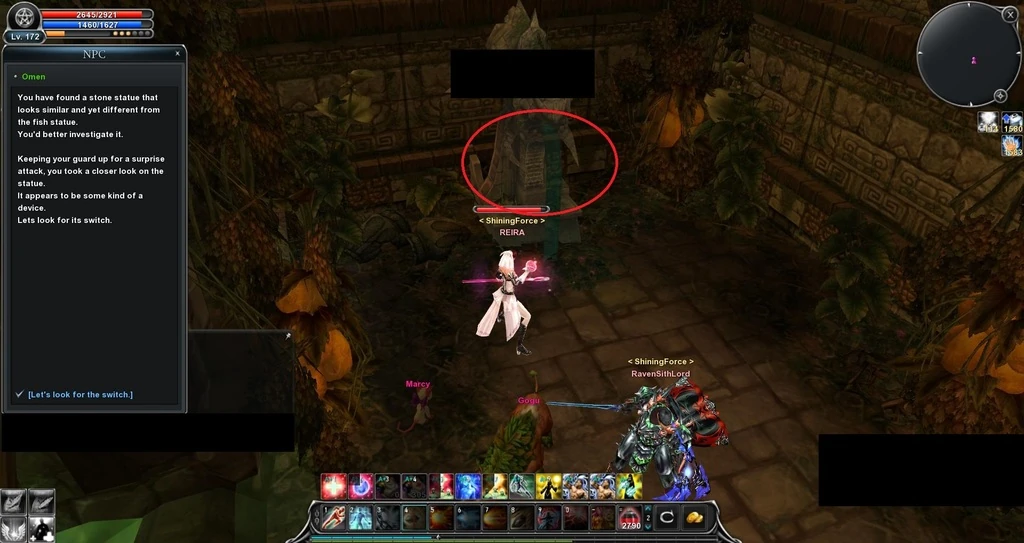 |
Continue and you will find another Snake Head (Omen), which will spawn the end boss so be ready. |
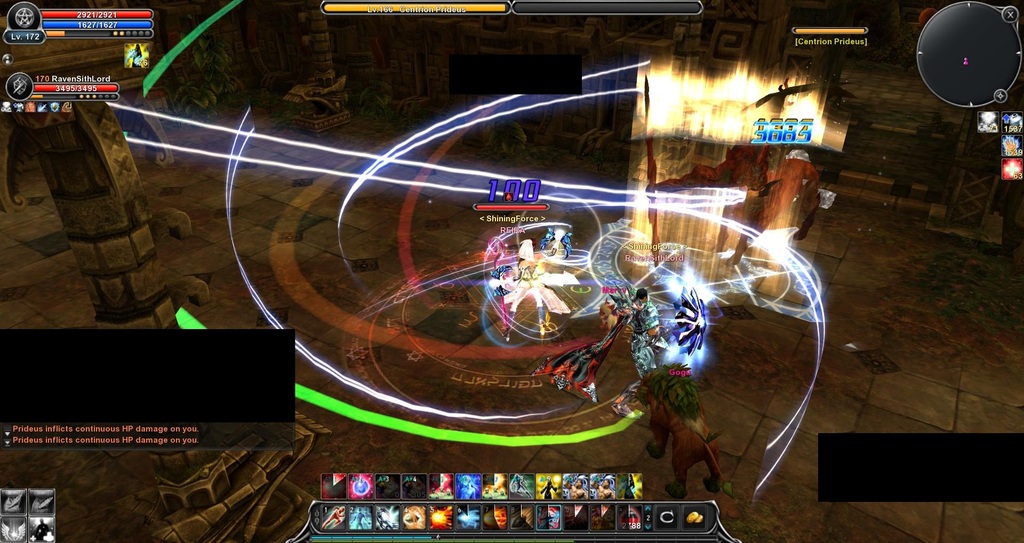 |
Defeat Centrion Prideus. But don't finish the dungeon yet there is one more thing to do. |
 |
Secret Chest:
Go back in the tunnel between the "Old Altar" and the first Snake Head (Contaminated Waterway). You will find an Odd wall, talk to it and you will be warped in the "Secret Room" (yes it's the same room where Glutto warps you in). |
 |
Open the Secret Chest |
 |
Now you can finally finish by clicking on the "Gem Seed" in the back of the End Boss room.
Congratulations you just finished Altar Of Siena B1f [SMILE=s46] |
| Mission Dungeon | Lake in Dusk (W) • Ruina Station (W) • Tower of the Dead (B1F) (W) • Volcanic Citadel • Tower of the Dead (B2F) • Forgotten Temple (B1F) • Forgotten Temple (B2F) (A) • Forbidden Island (A) • Illusion Castle Underworld • Illusion Castle Radiant Hall • Holy WindMill • Altar of Siena (B1F) • Altar of Siena (B2F) • Maquinas Outpost • Holy Keldrasil • Tower of the Undead (B3F) • Flame Dimension • Abandoned City • Legend Arena • Devil's Tower • Glacies Inferna • Edge of Phantom • Forgotten Temple B3F • Acheron Arena • Devi's Tower (Part2) • Pandemonium • Flame Nest • Ancient Tomb • Frozen Canyon • Mirage Island (A) • Labyrinth |
| DX Dungeon | Panic Cave (A) • Steamer Crazy • Catacomb Frost • Lava Hellfire • Hazardous Valley |
| Chaos Arena | Chaos Arena Lv. 1 • Chaos Arena Lv. 2 • Chaos Arena Lv. 3 • Chaos Arena Lv. 4 • Chaos Arena Lv. 5 • Chaos Arena Lv. 6 • Chaos Arena Lv. 7 • Eternal Chaos Arena |
| Related links | Dungeon Entry Items |